


Here you will learn in 5 steps how to add a LUT in Final Cut Pro.
Simply select the Custom LUT effect in your Effects Browser and add it to your clip. Then choose your .cube file in the dropdown section of the effect.
5 STEPS FOR PROPERLY ADDING A LUT TO YOUR FOOTAGE
Step 1: Select Your Clip
Open Final Cut Pro (Version 10.4 or Later) and Select your Clip or adjustment layer in the timeline you want to add the LUT to.
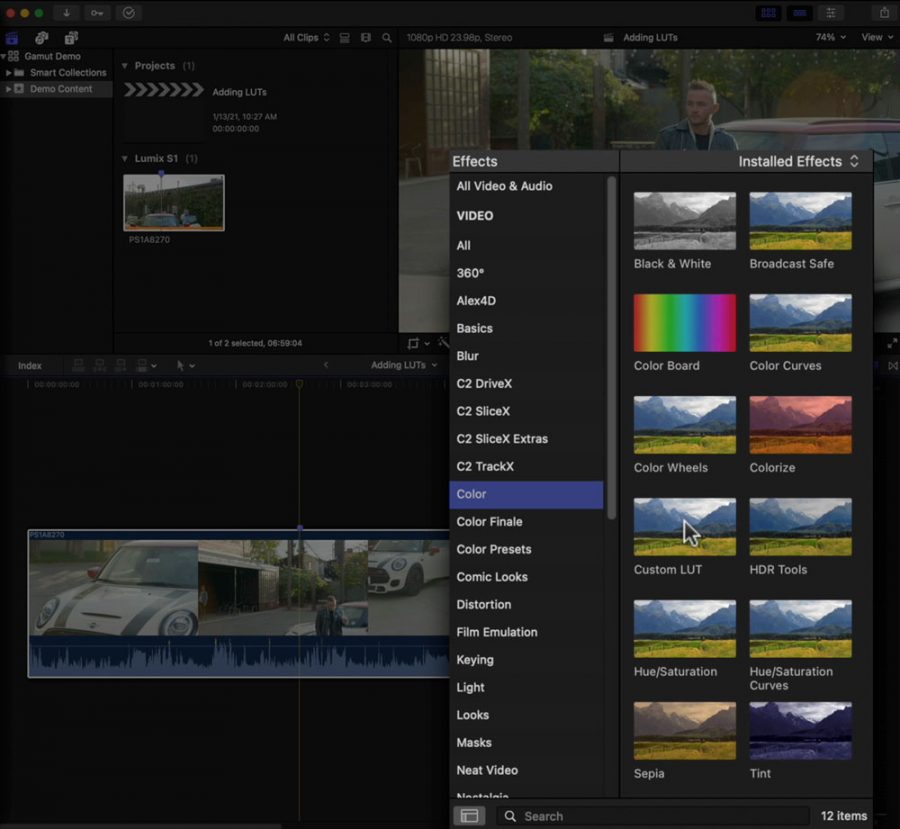
Step 2: Add Custom LUT from the Effects Browser
Either double click on the Custom LUT effect or drag it onto your clip or adjustment layer.
Step 3: Open the Video Inspector Window
Navigate to your Video Inspector Window, click the Custom LUT drop-down section, and select “Choose Custom LUT.”
Step 4: Choose the LUT(s)
Navigate to the LUT file you want to import and Select the .cube file (which is the LUT) or select the folder that hosts multiple LUTs you want to import and click “Open.”
Step 5: Adjust the Intensity of the LUT
The LUT you imported will now be loaded and you should see the look applied to your footage. If you imported a folder of LUTs, just click on the drop-down menu again and select the LUT in the submenu folder.
You can also change the intensity of the LUT by adjusting the Mix Slider to taste.

